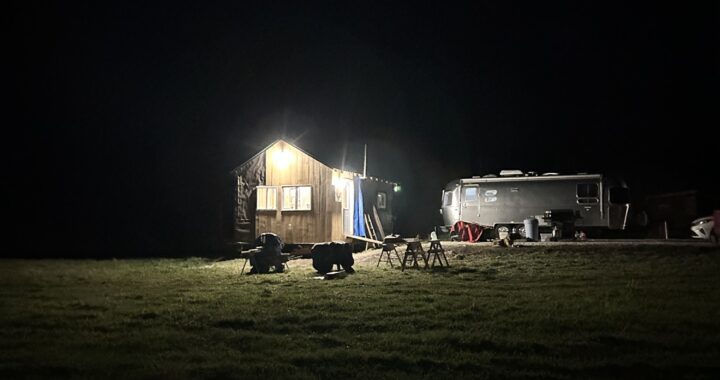
A lot has happened since I last posted! Since returning from the Adirondacks life has centered around the tiny cabin we call Little Red. No it’s not red at the moment! In fact much of it has no siding at all. Just a layer of weathered OSB that was once covered in tarpaper until years of strong winds destroyed most of it. In this summers post Moving and Shaking I talked briefly about the cabin project. Well a lot has happened since we moved it!
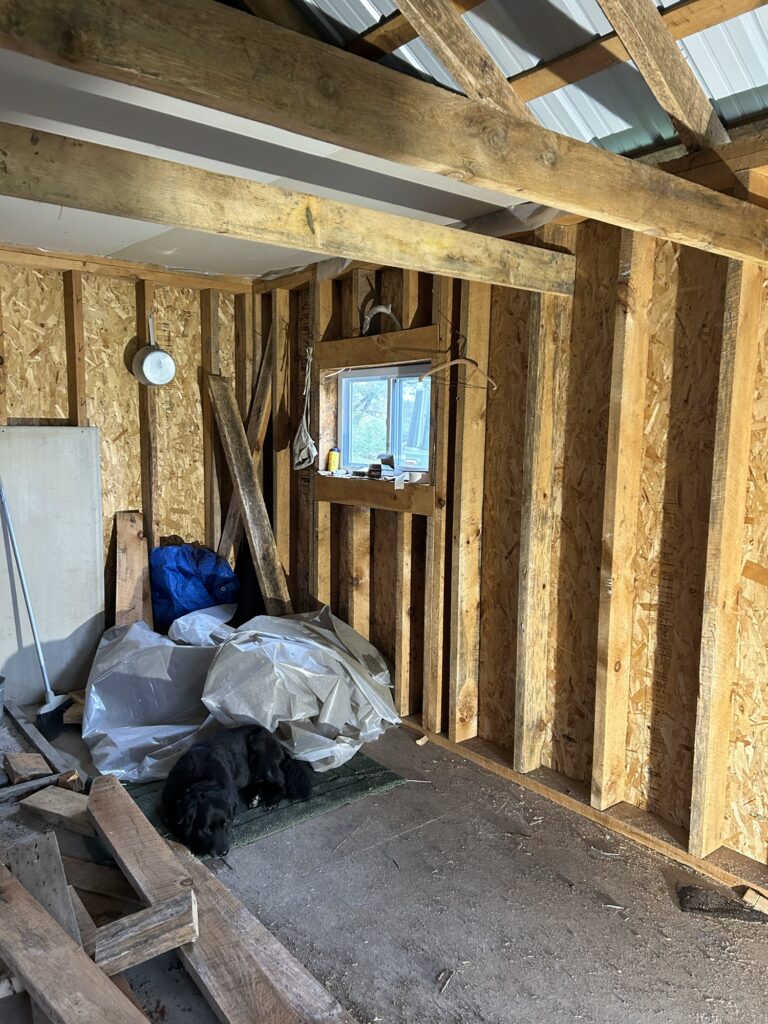
I got settled back into the Airstream as soon as I returned from my Adirondack sojourn. Being parked right next to the cabin made for ideal working conditions. I could study the project while sipping maple syrup infused coffee each morning. After some initial wall demo at the front of the building I began laying out potential bathroom floor plans but kept hitting obstacles that would seriously impact the timeline of the build. There was no time to waste as it was now past mid October! But another design change would take center stage and it was necessary to go backwards before moving forward. I decided to lower the existing ceiling to create a small loft area. Space was at a premium in the cabin and storage is always needed. So after two days of demo and modifications to the framing the loft was roughed in. About this time I decided to totally move the bathroom where it would sit adjacent to the utility room. After hours of online research I chose a 5’x7’2” floor plan. The utility room would be a mere 21” wide! The bathroom would have a downsized 32” one piece shower stall, an ADA style toilet, a stacked washer/dryer unit, and a small hand sink. It would be tight but it would fit!
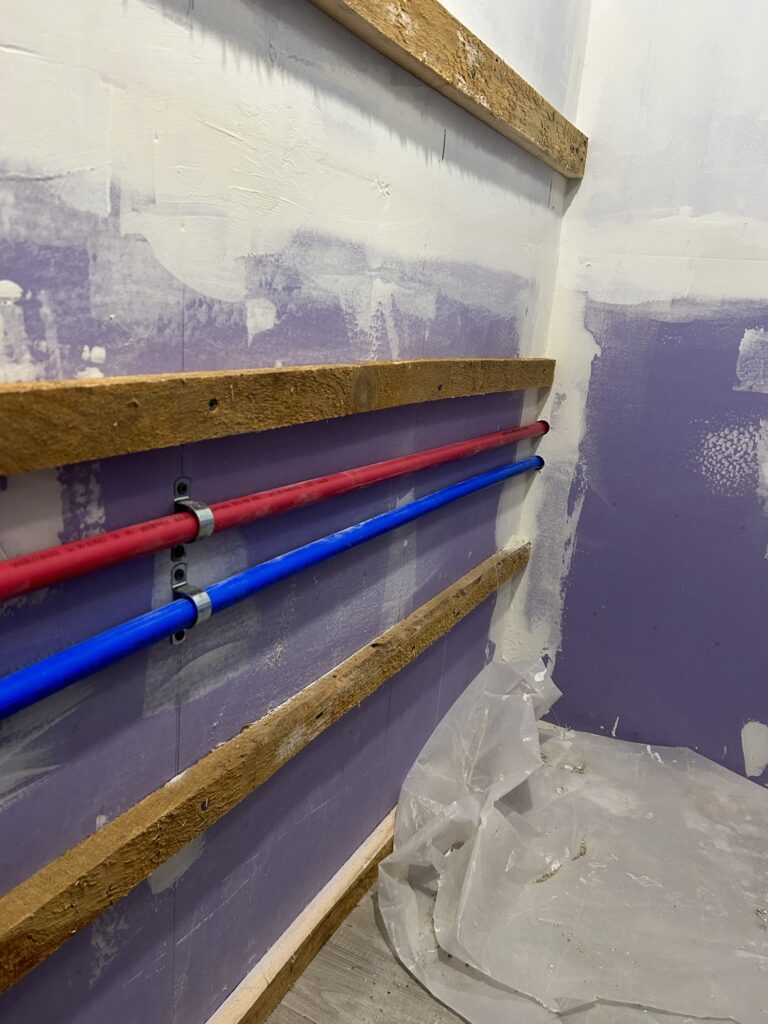
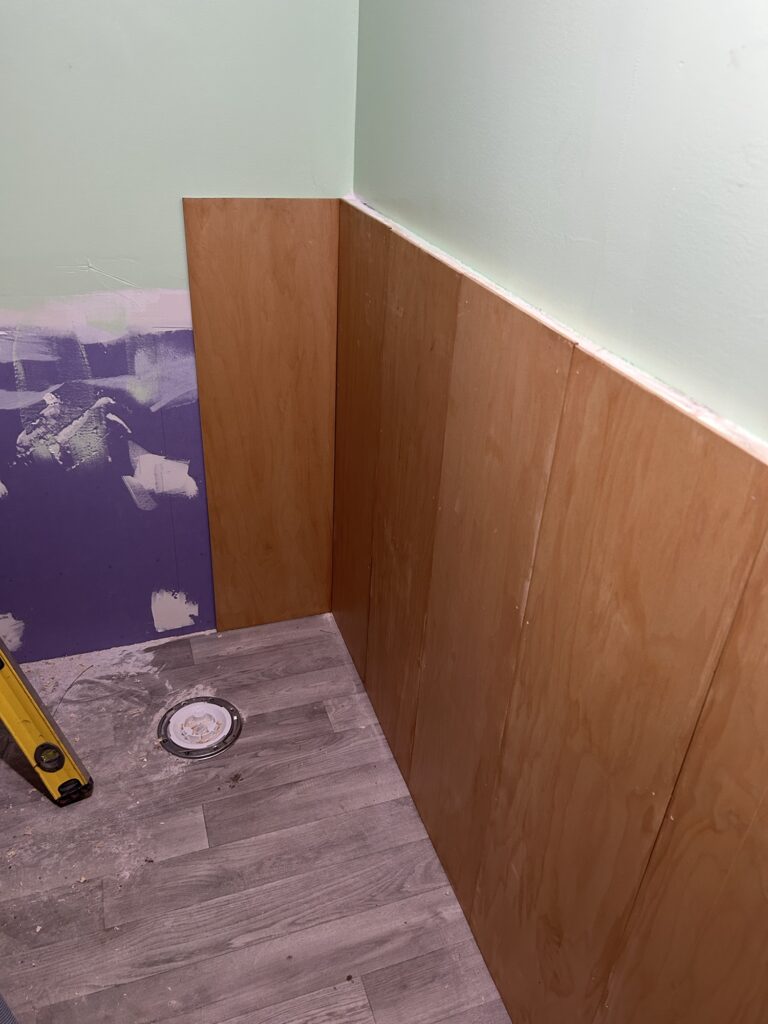
The first thing we did was insulate and drywall the entire length of the bathroom side of the cabin. No electrical or water piping was in the walls. The design of the wet wall kept plumbing simple and limited in distance. The kitchenette sink water lines were factored into the framing. Next Zane and I put down the bathroom linoleum in one unbroken piece to save time. The ceiling areas were dry walled prior to any interior walls being framed. Another big time saver.The walls of the bathroom were framed and set into place next.At this point some electrical had to be roughed in but it was a fairly simple process. Some drywall finishing began as soon as the drywall was hung. I had designed a wainscoting into the bathroom to limit the amount of mud and taping.We took a day to do some siding on the cabin as it was super warm one Friday.
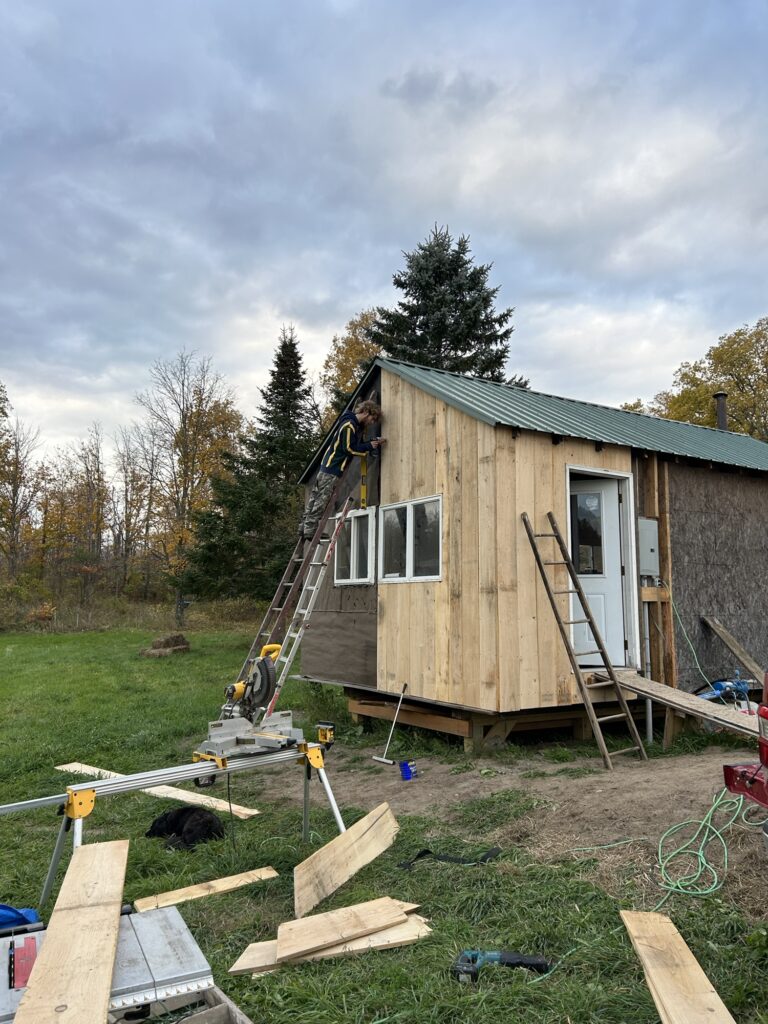
For siding I chose some dry 1” hemlock that I had stored up in the hay mow of the big barn we call Big Red. It went on fairly quickly but we ran out of material by the end of the day. So it was time to start the plumbing rough in. Not something I had every really done so online research was required to get it figured out. I decided to start with the drains under the cabin. Installing the vents proved to be a challenge but was eventually figured out. I flipped the bathroom layout 180 degrees to better accommodate the exhaust duct from the dryer. The bathroom was taking shape!
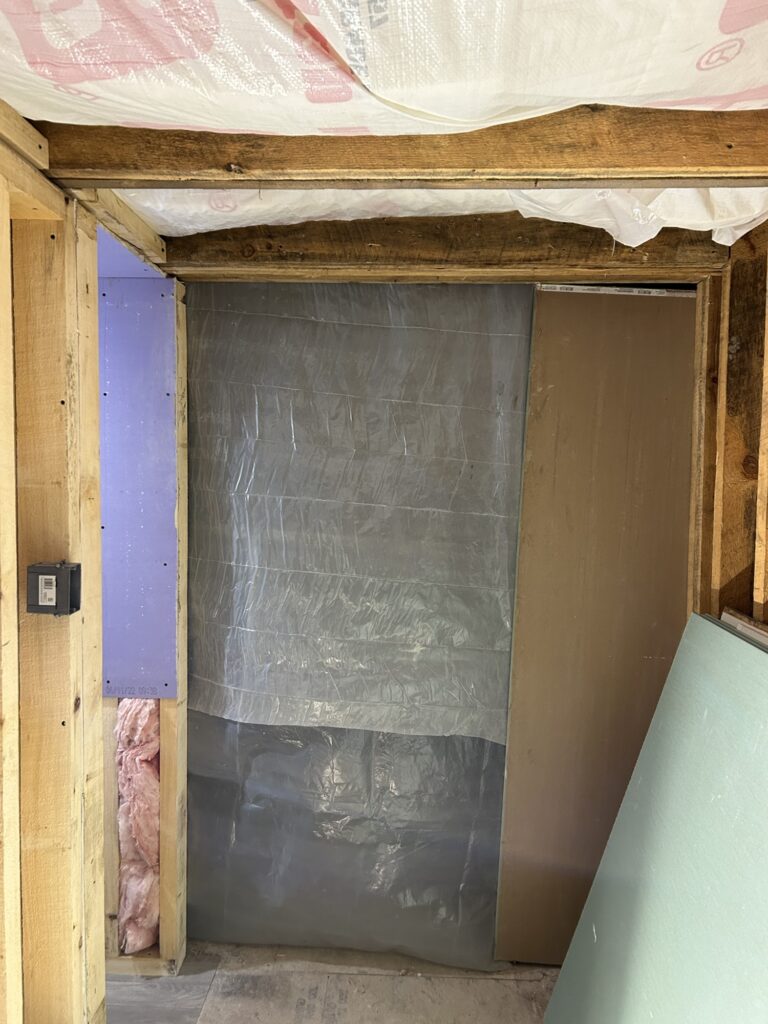
About this time the weather began to get pretty cold at night. With the wide open space above the loft it was impossible to heat the cabin so finishes, priming, and painting could occur. So up went the plastic sheeting in what I call tent cities. The wood stove could now make a noticeable difference. All in all the weather has remained mild really.
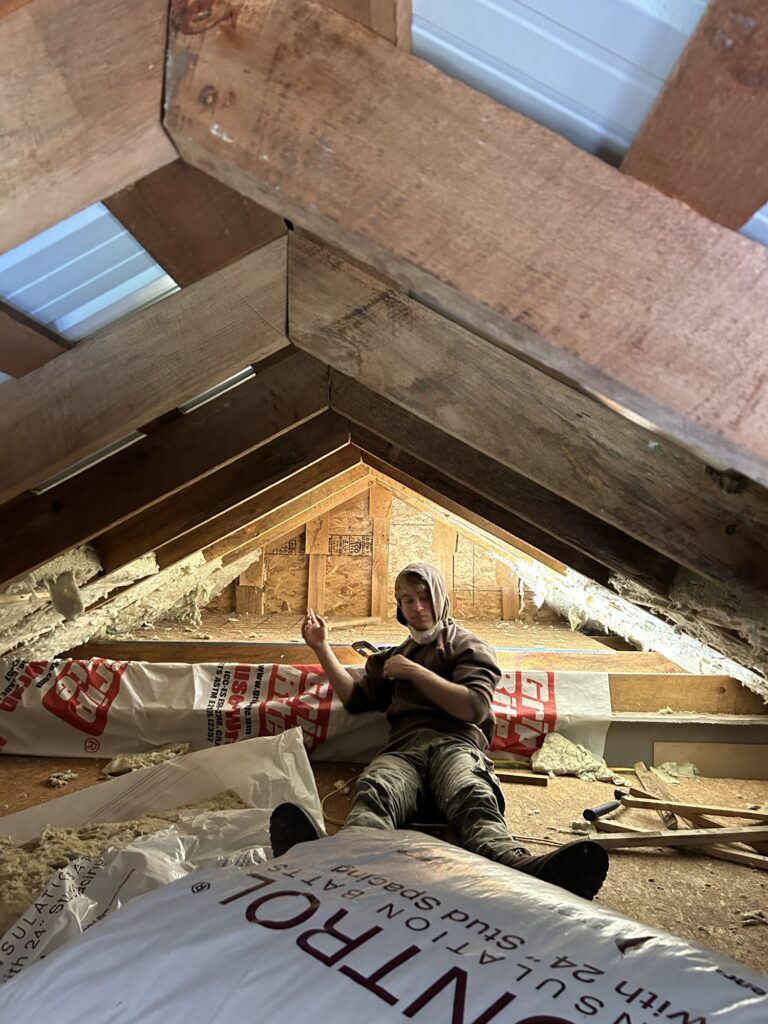
Buying and assembling materials takes a fair amount of time. It was a weekly ritual and I tried my best to get things used up to save on space inside the cabin. Last week was devoted to pex tubing and the final details of the utility room. It would barely all fit in there! To top it off I needed to winterize the Airstream as temperatures were dropping into the mid 20’s by Saturday night. So there had to be a transition in shower and bathroom locations. Zane and I insulated the entire upper section last Friday with a nasty product called rock wool. It’s a great insulation though! Moisture and fire resistant. Very dense. That project took an entire day! The days have been busy and things seem to take longer then I think they should! And how can it take so long to complete such a tiny building? That’s very perplexing to me!
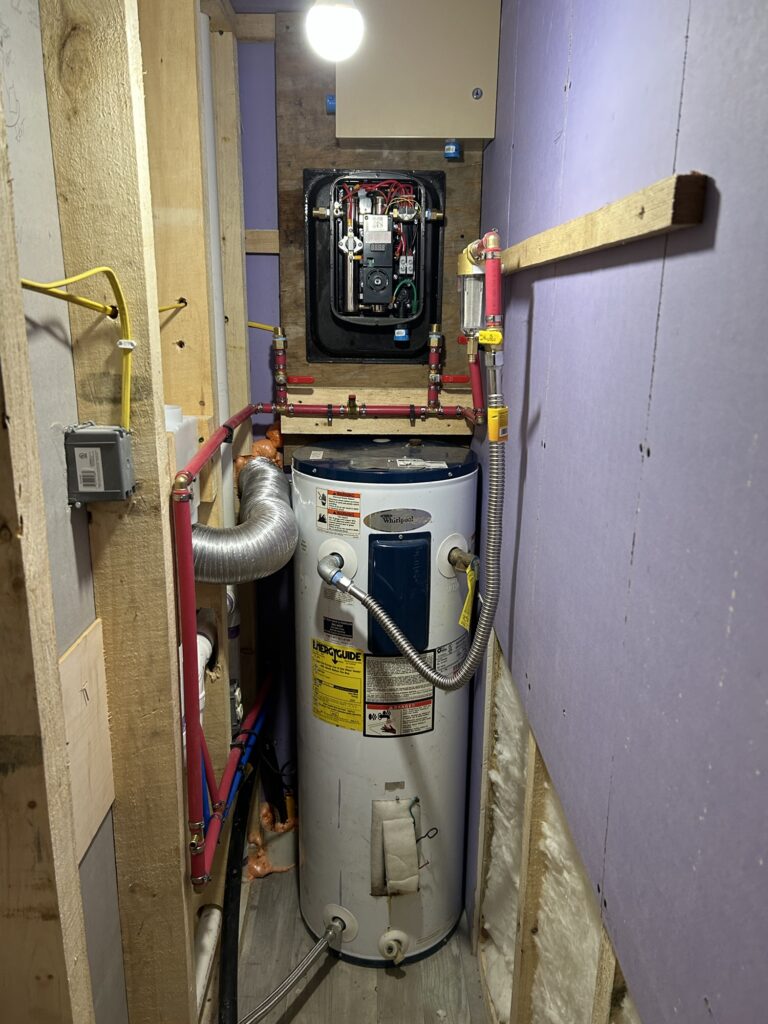
So the water finally came on Sunday inside the cabin. Only two small leaks to fix. It had taken some effort to get the waterline and pump placed in the tiny utility room but it happened! My crown jewel of the utility room is the tankless water heater! I rigged up an old 30 gallon one as a secondary if needed. It also serves as a tempering tank for the incoming water from the spring. This will save electricity and help supply more hot water. The old Gould’s pump is a 1995 model that used to serve at Camp Edith before being retired and stored away. Held in trust I call that sort of thing.
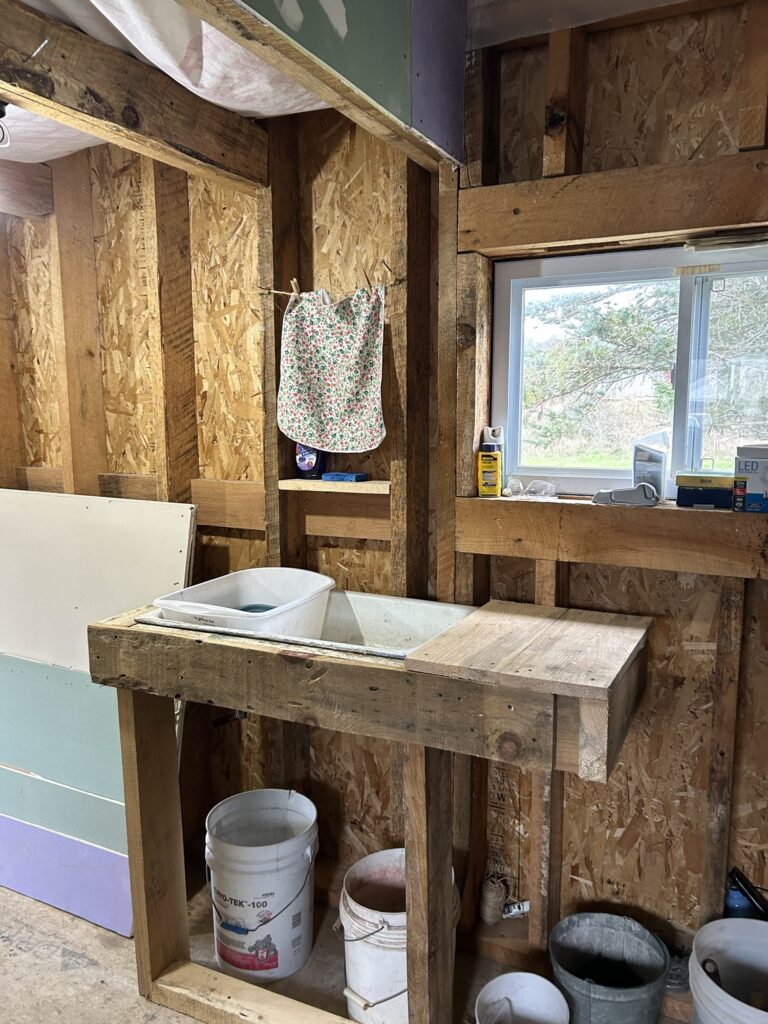
So here we are on November 15th. Situation: good. Functioning toilet and shower. Hot water. A still functioning travel trailer for cooking and sleeping. Just no water. And yesterday’s temporary addition of an old sink for doing dishes inside the cabin for now.It also once served for many decades at Camp Edith. I have been working to get more electrical done in the cabin also. Lots of small details being finished. There’s still a lot to do but now you know what my adventures have been! Cabin work as November creeps along and the night comes early. There’s so much more to this project then I even mentioned. But it’s home now here at the farm property. I hope to post again soon!